Configure Trunk Group
In this guide, you will learn how to configure a trunk group.
Trunk groups route phone numbers to their assigned endpoints. When calls are placed, the phone number is matched with the trunk group, which then routes the call to the proper endpoint. Multiple endpoints can be assigned to a single trunk group. Logic can also be implemented to accommodate for failures and distribute traffic for trunk groups with multiple endpoints. Trunk groups can be configured through the portal and programmatically.
I. Create Using Portal
In this section, we will configure a trunk group through the portal.
Follow the instructions on the Configure an Application Endpoint quick start guide to create an endpoint. However, do not check the Provision Trunk Group box on the Add New Endpoint form. You can create any type of endpoint that you would like. In our example, we are assigning a Third-Party endpoint to the trunk group.
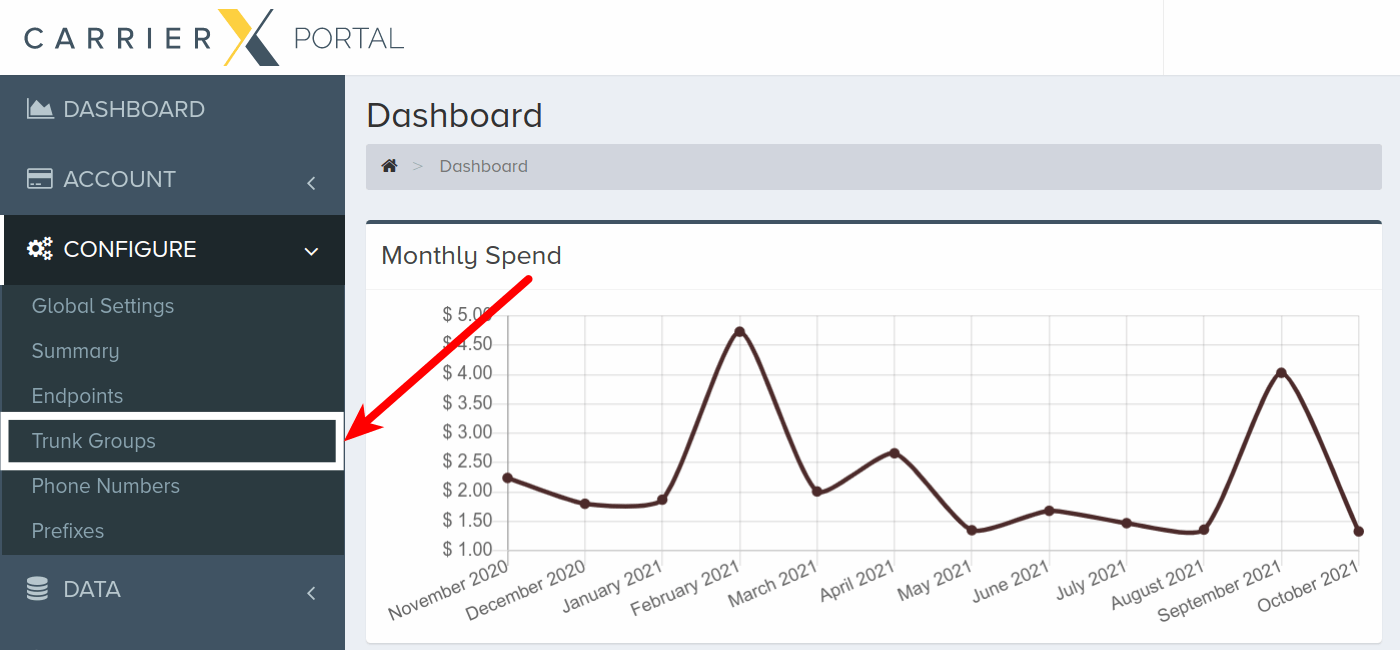
Once your endpoint is created, navigate to the Configure menu and click Trunk Groups.
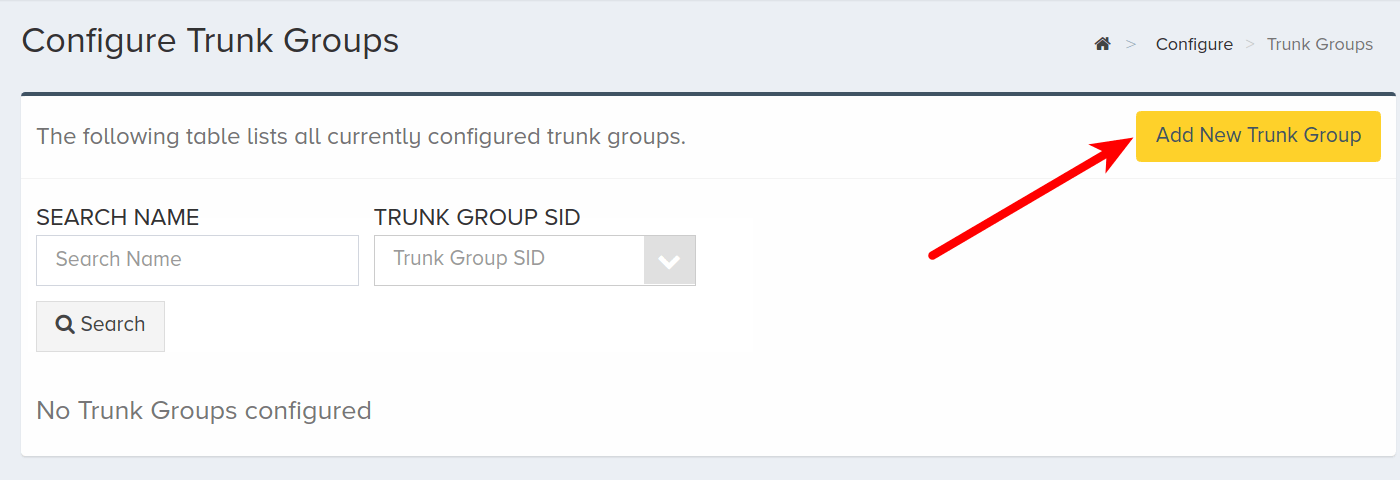
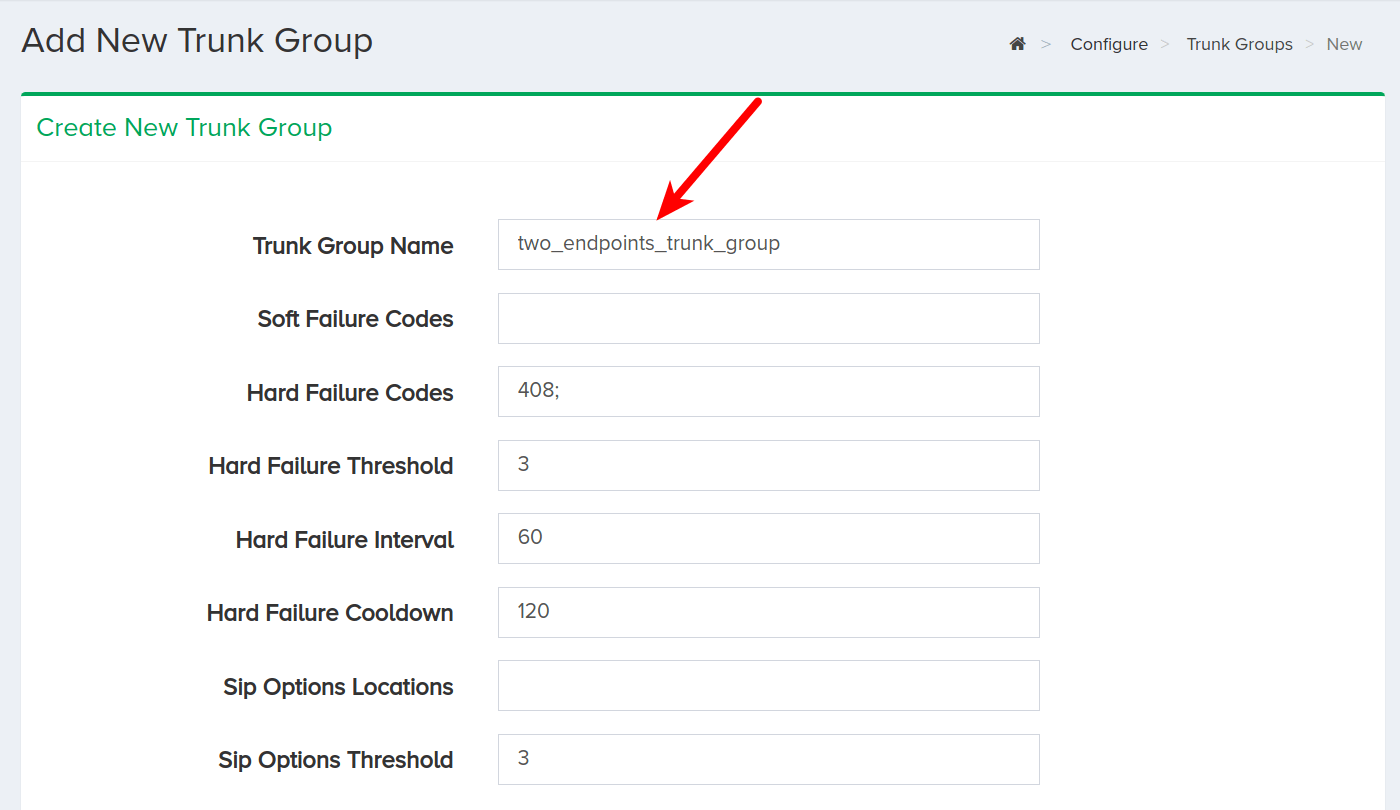
Click Add New Trunk Group.
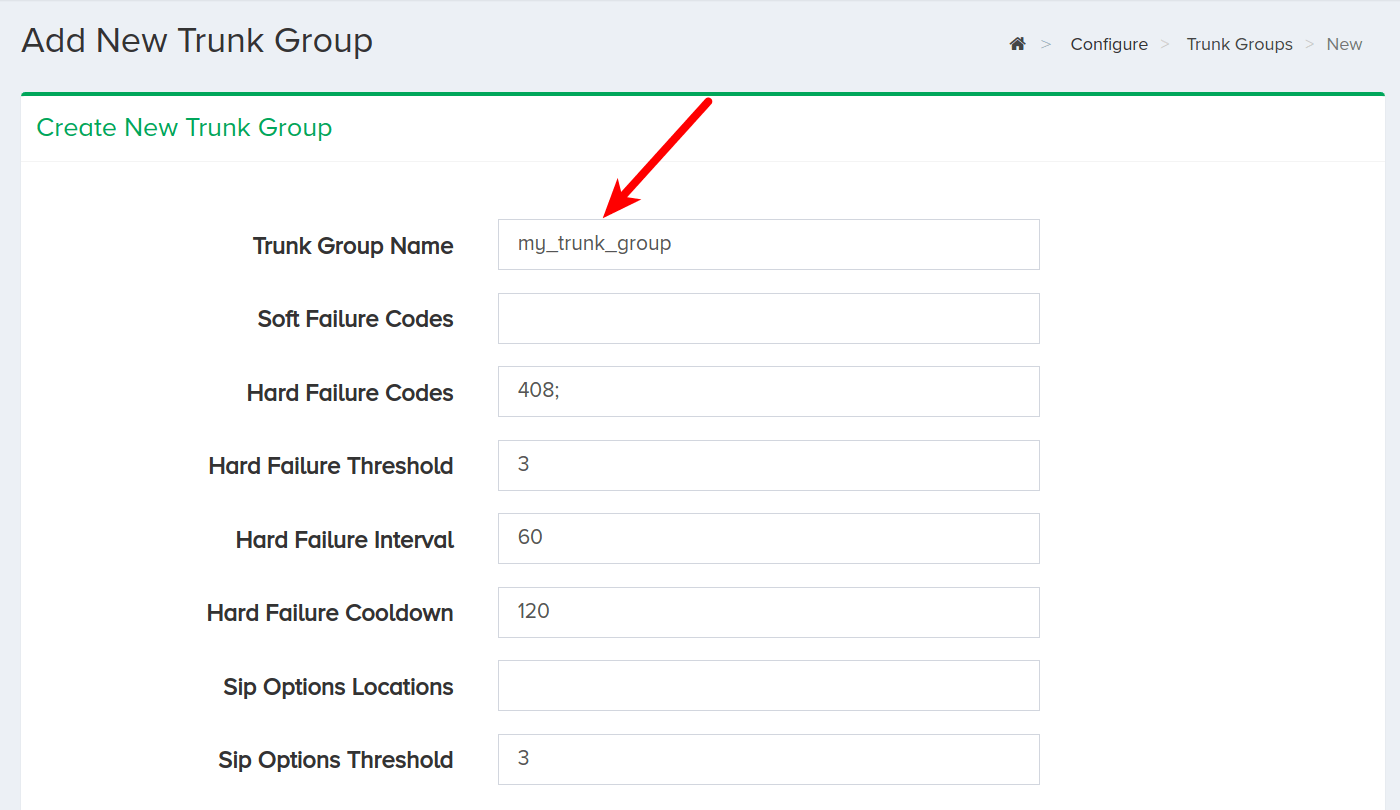
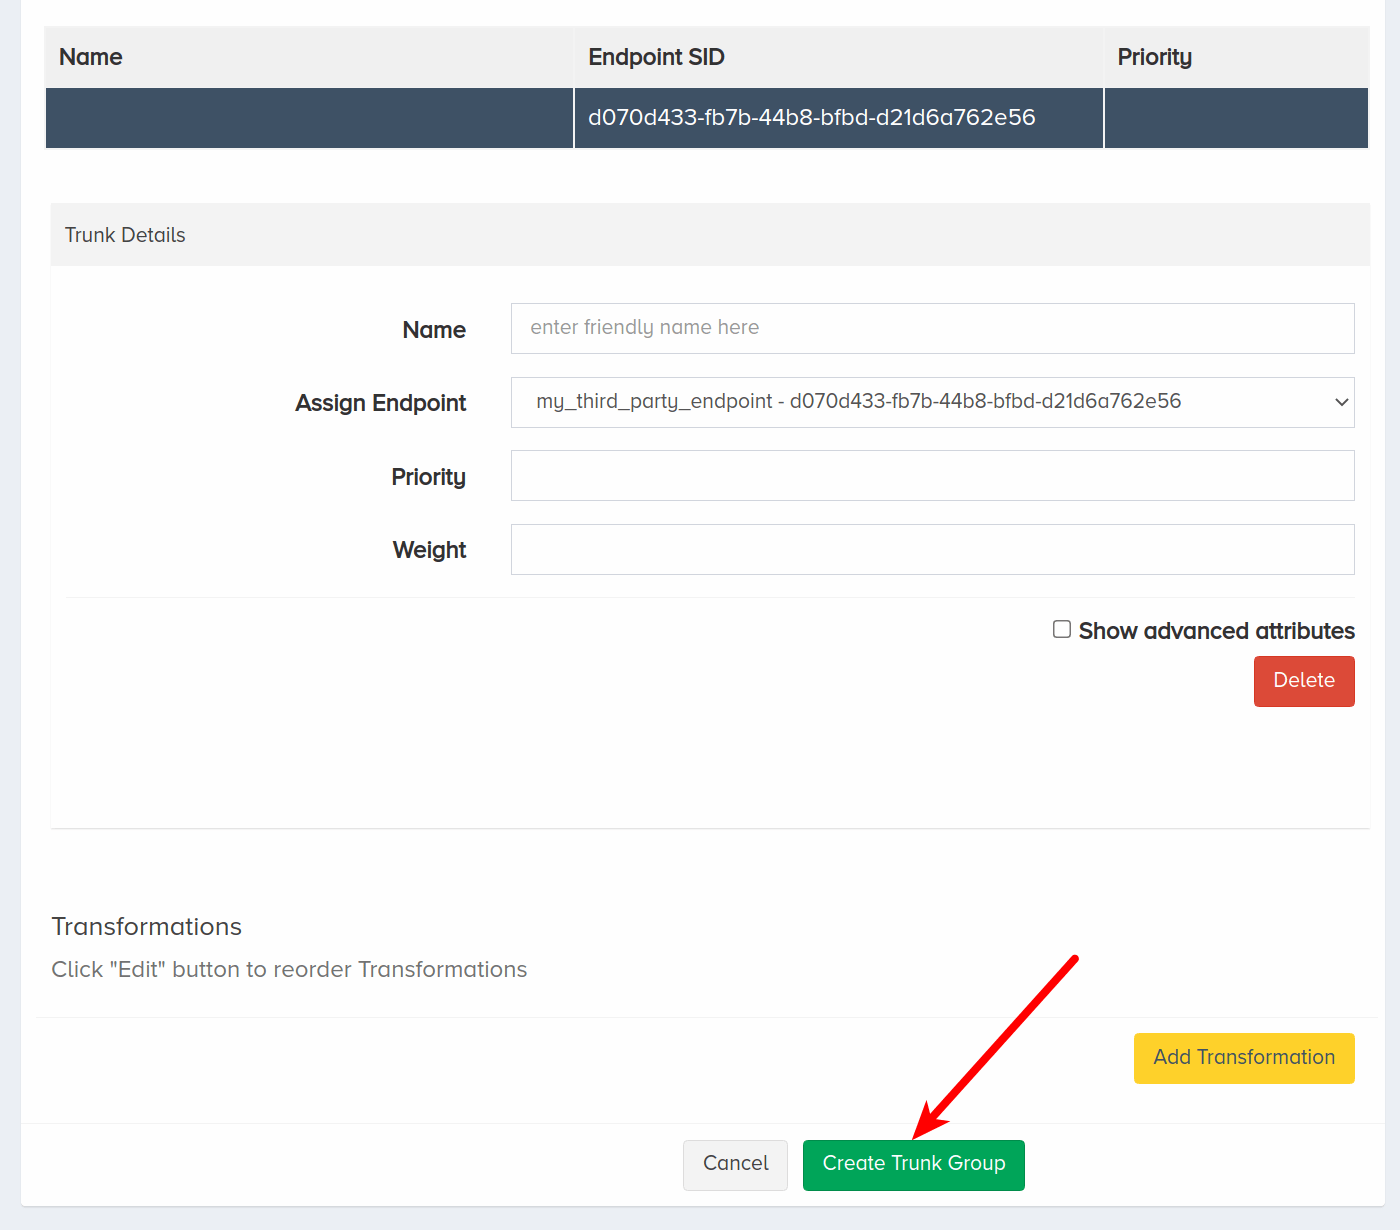
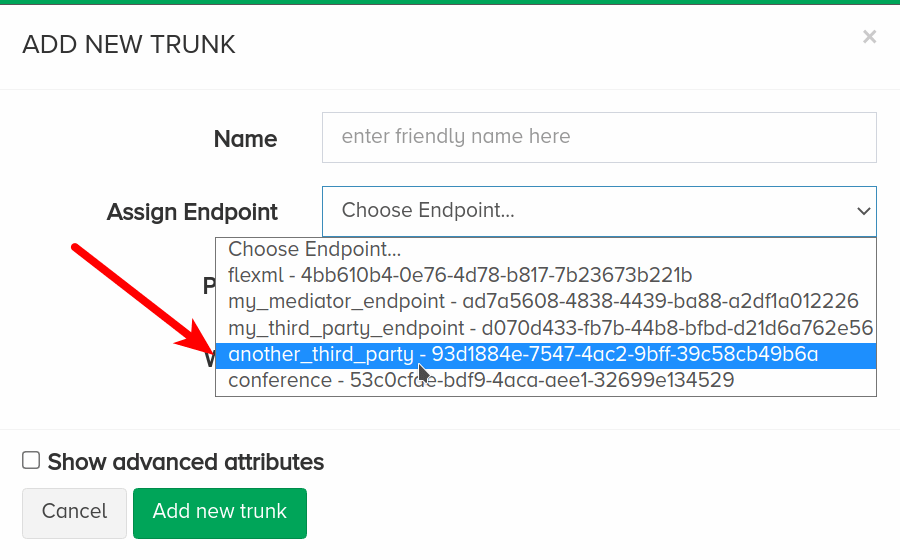
Enter a name for the new trunk group. This is a friendly name that is used for internal reference.
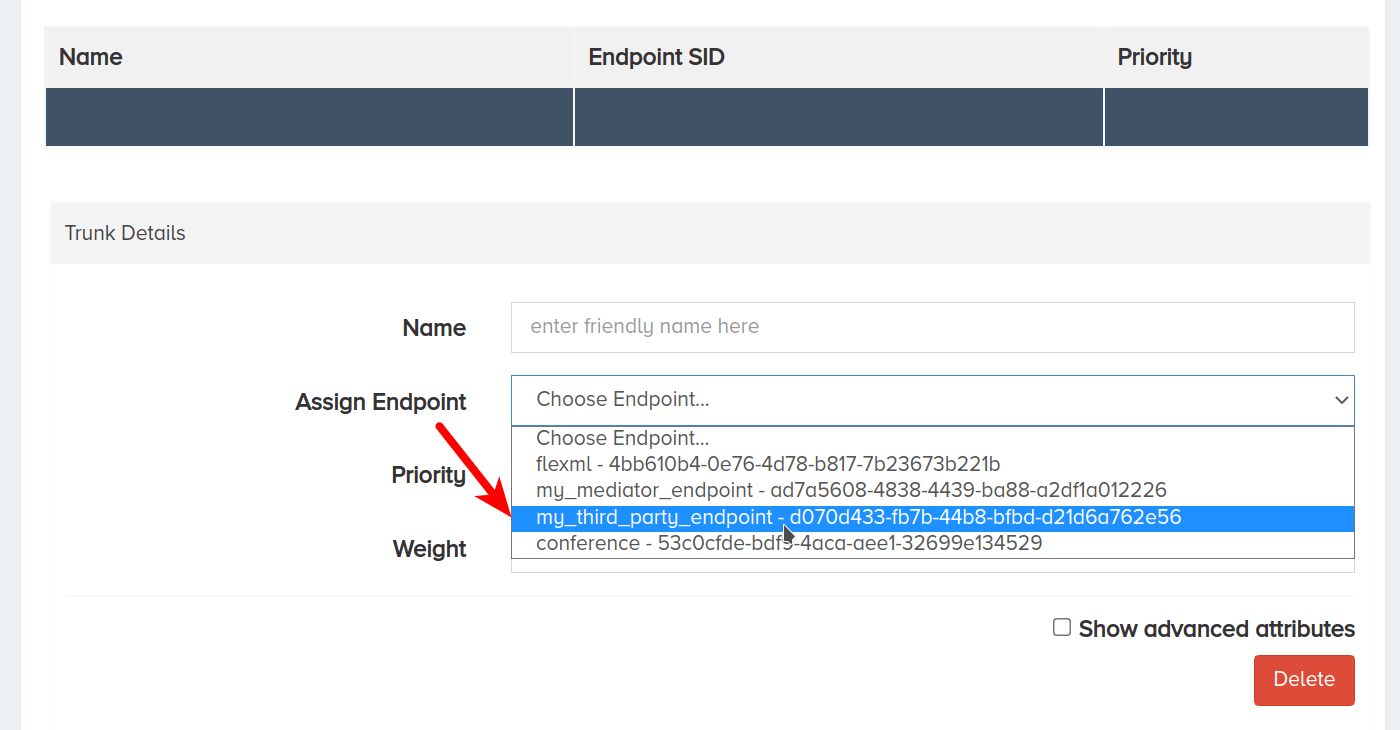
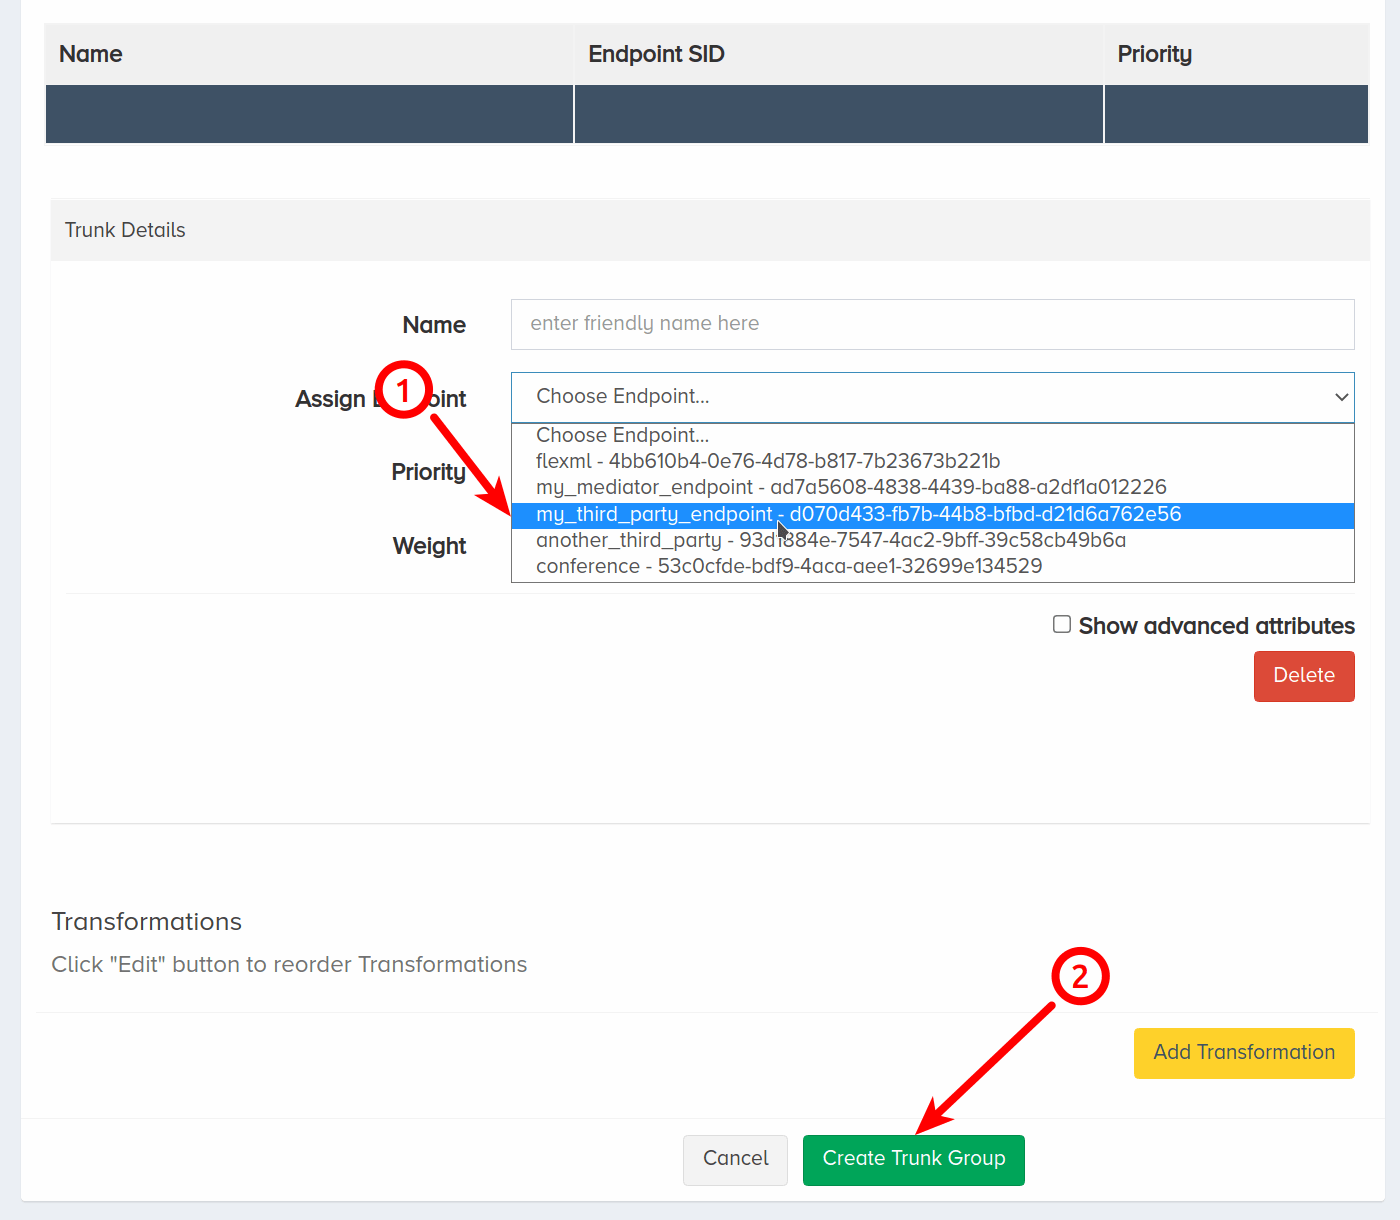
Select the endpoint you would like to assign the trunk group to from the Assign Endpoint dropdown menu.
Click Create Trunk Group.
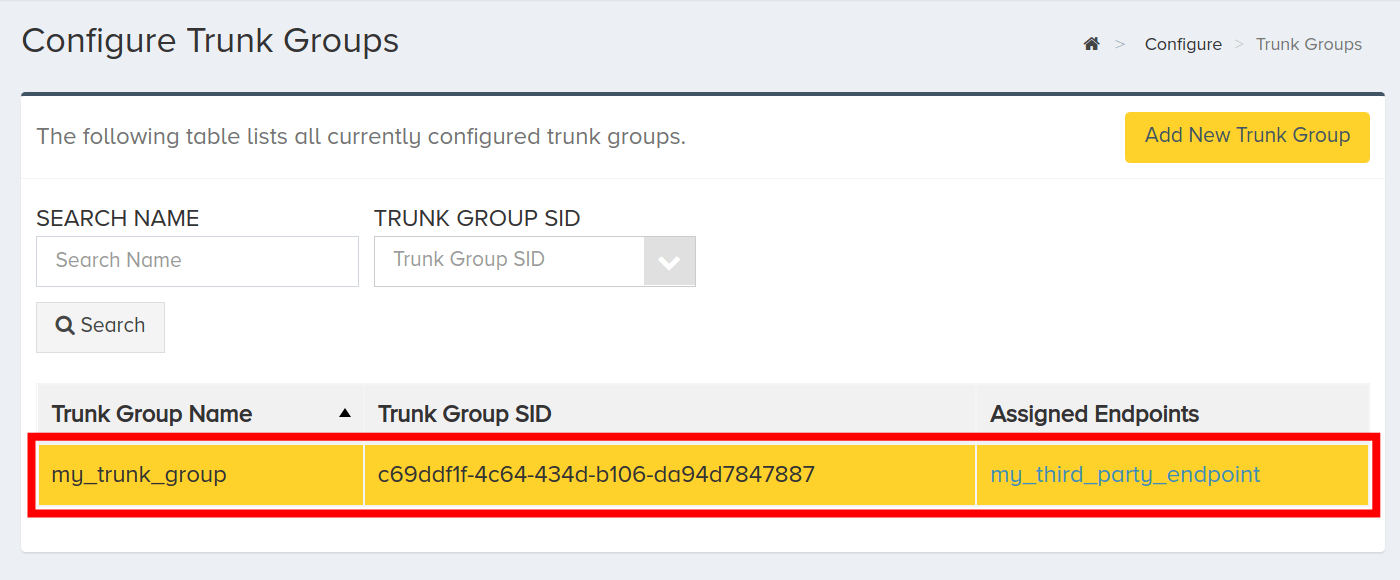
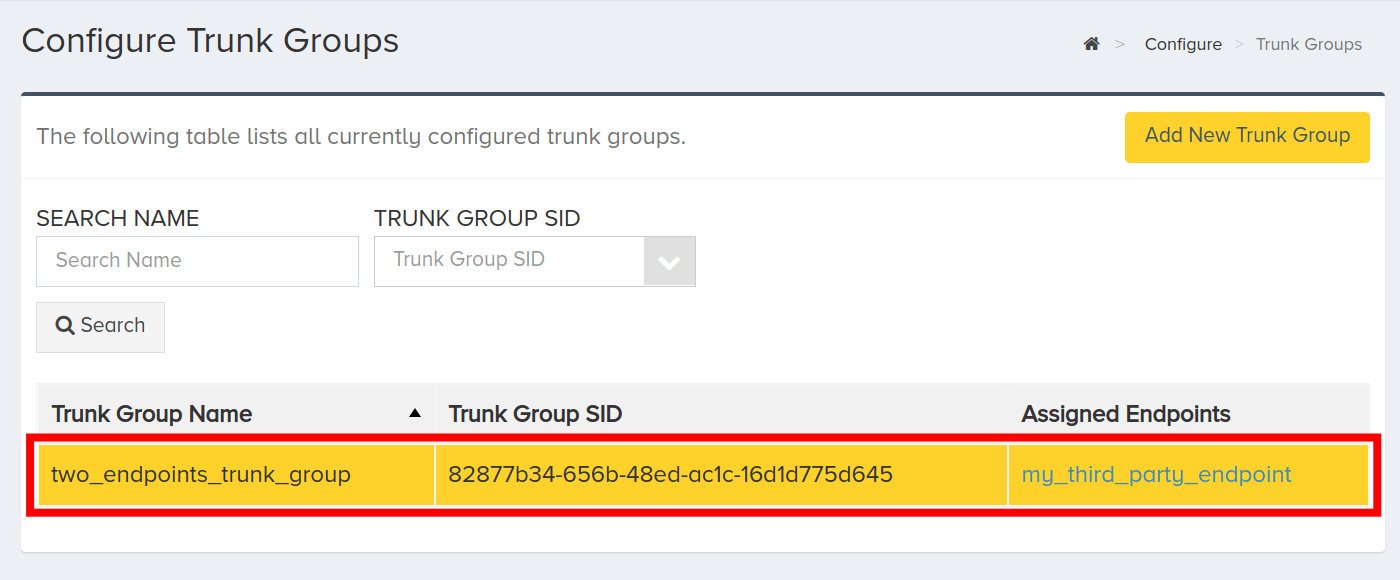
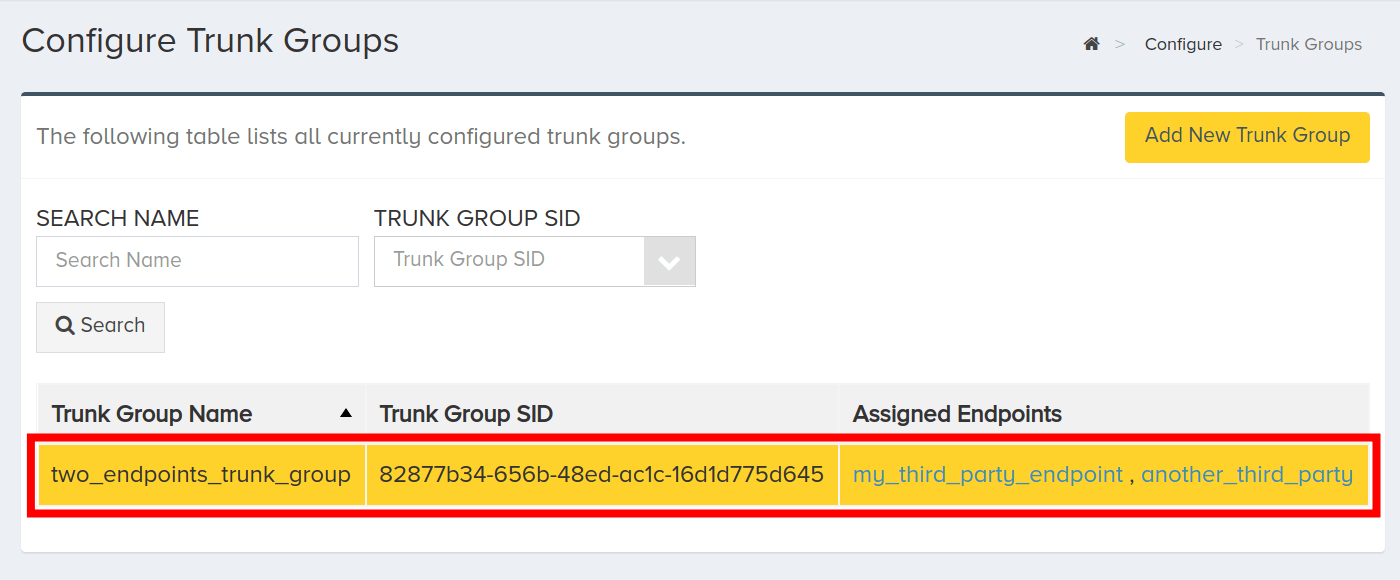
Once you have created the trunk group, you will be redirected to the Configure Trunk Groups page. From here, click the new trunk group that you created to view trunk group details.
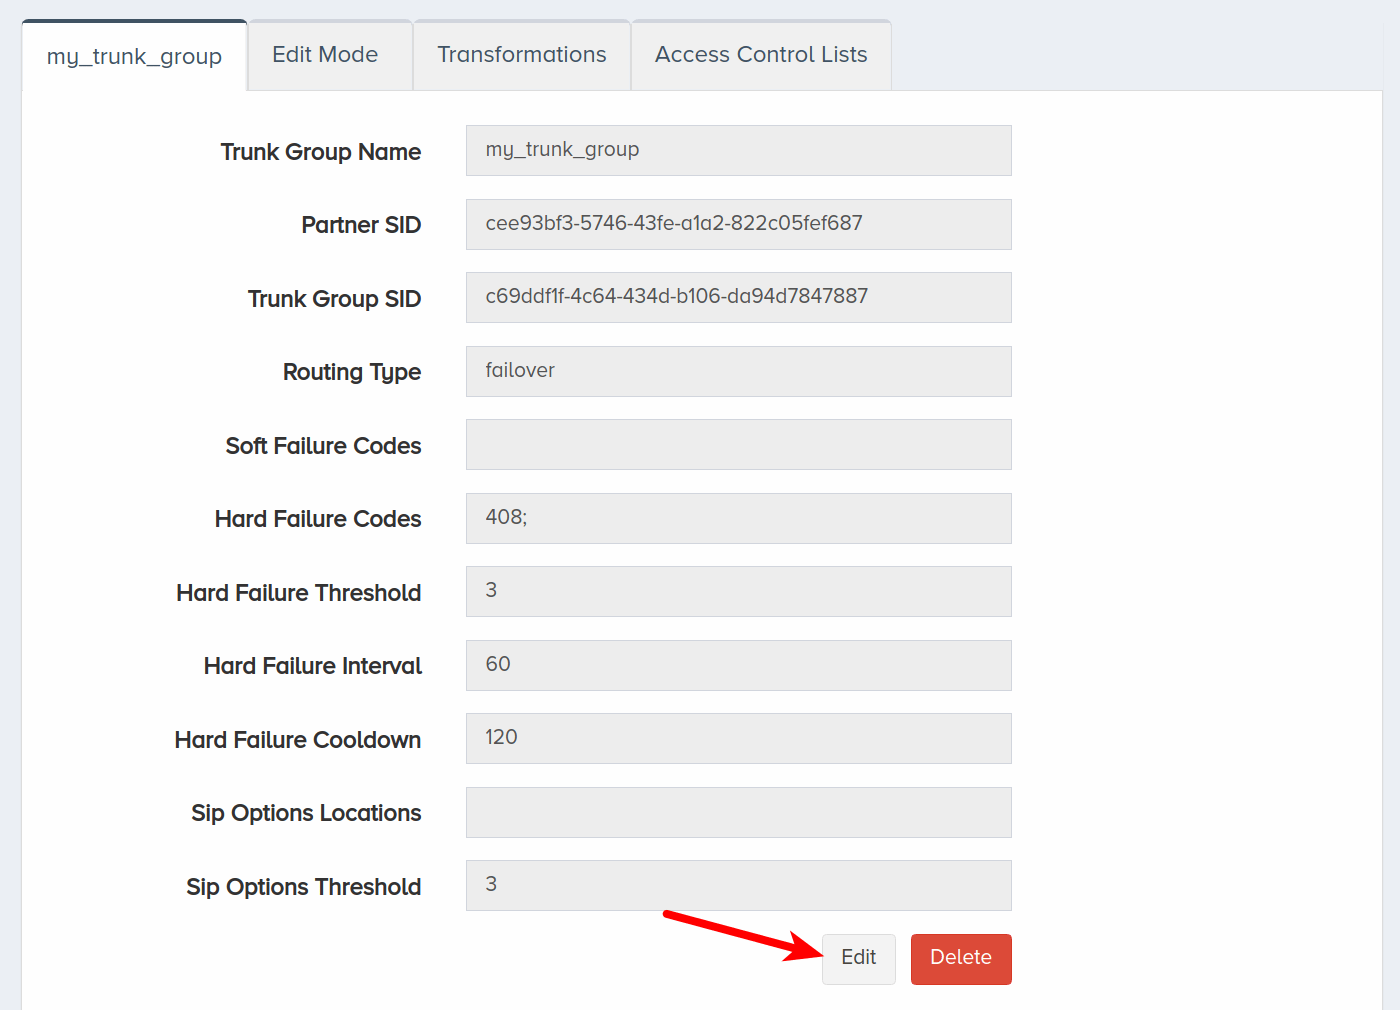
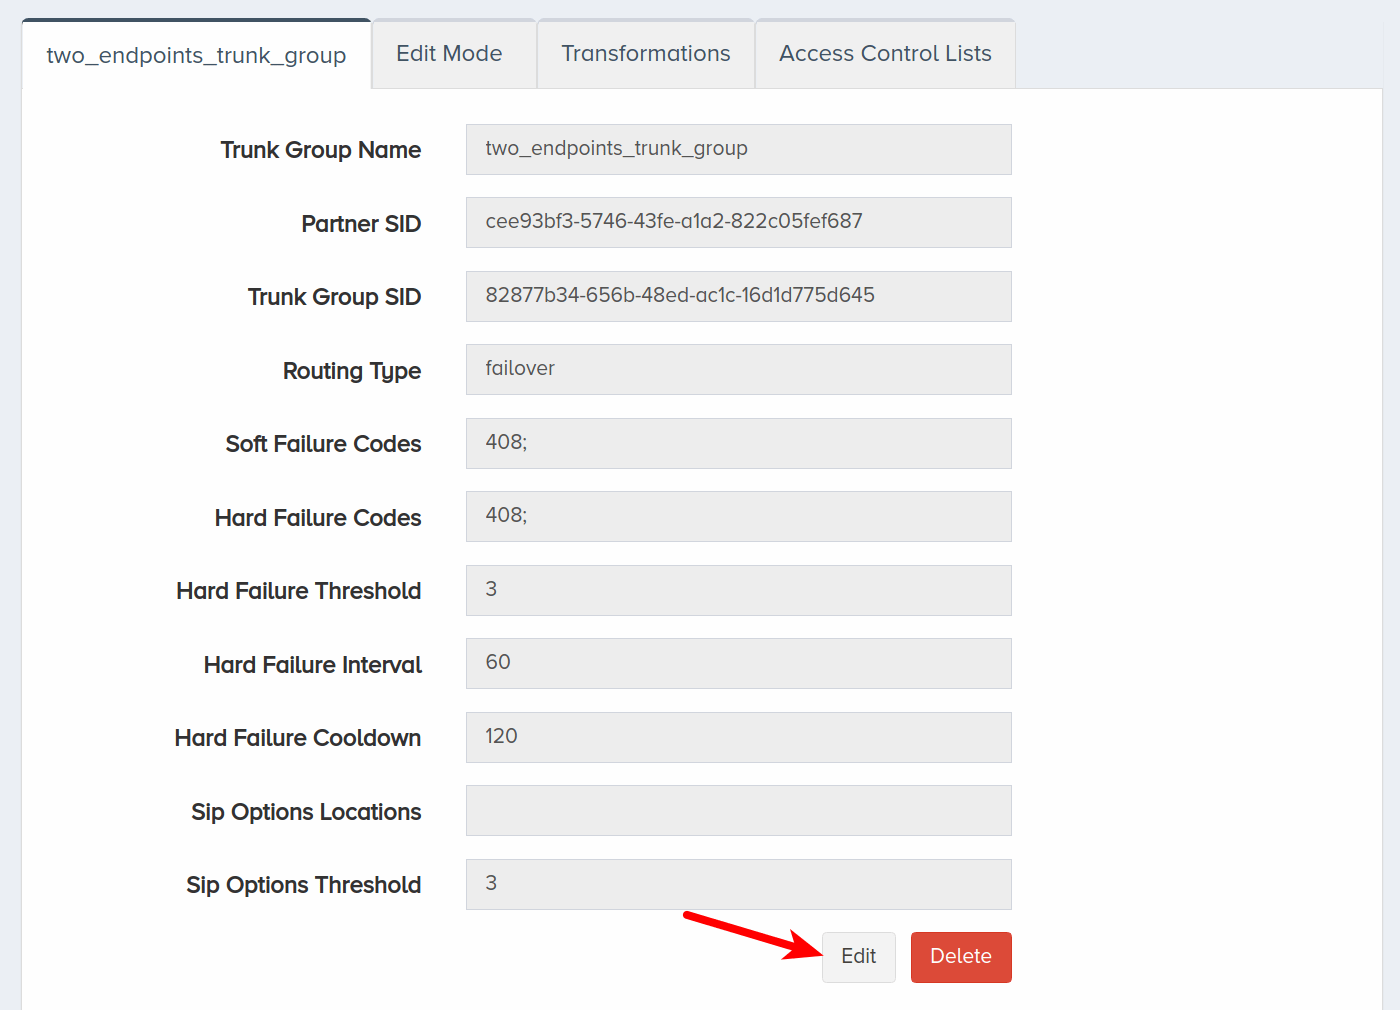
If you would like to edit the trunk group, click Edit.
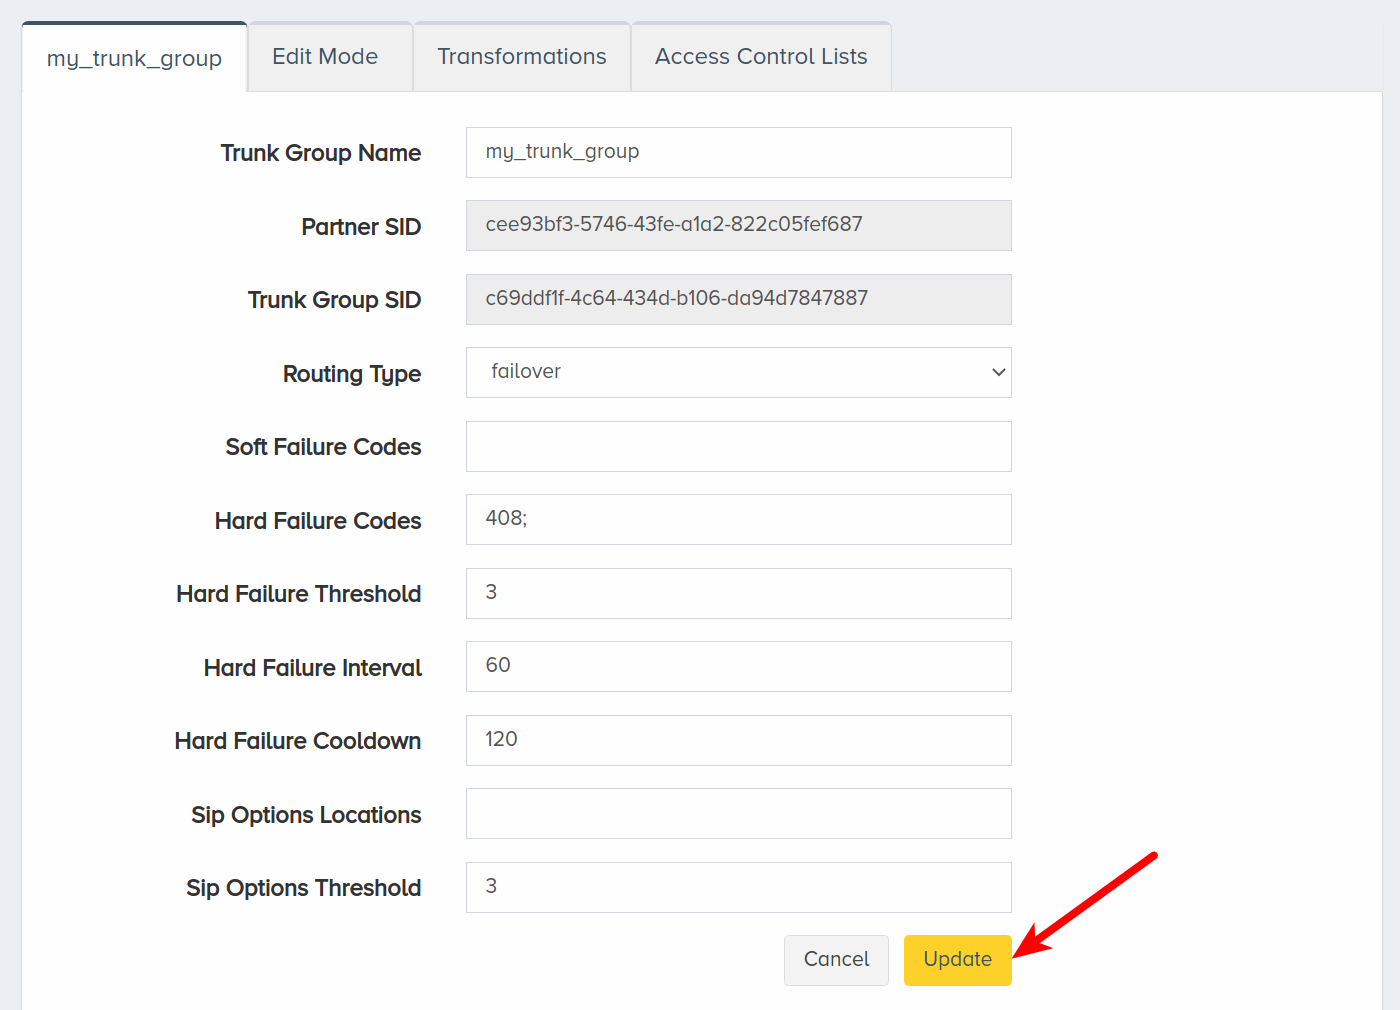
Once you are finished changing values, click Update.
II. Create Using REST API
In this section, we will configure a trunk group programmatically. For more information, refer to the Trunk Groups section of the Core API Reference.
Form a POST request. To create a trunk alongside the trunk group, pass the with_trunks field in the query URL with the true value. In the request body, pass the field name with a chosen name for the new trunk group. Also pass a trunks array with the name and endpoint_sid fields.
curl -X POST \
'https://api.carrierx.com/core/v2/trunk_groups?with_trunks=true' \
-H 'Content-Type:application/json' \
--data-binary '{"name":"new_trunk_group", "trunks":[{"name":"new_trunk", "endpoint_sid": "6a898445-62c1-46cf-be8b-25c2a3c87ec7"}]}' \
-H 'Authorization: Bearer 5ebc03d6-8b2b-44ad-bf65-72d4f1491dda'
A successful request will return a 200 status code along with a response that looks like the following:
{
    "acls": [],
    "hard_failure_codes": "408;",
    "hard_failure_cooldown": 120,
    "hard_failure_interval": 60,
    "hard_failure_threshold": 3,
    "name": "new_trunk_group",
    "partner_sid": "77354609-bd20-4ed0-a523-8c00792f15b8",
    "routing_data": null,
    "routing_type": "failover",
    "sip_options_locations": [],
    "sip_options_threshold": 3,
    "soft_failure_codes": "408;",
    "transformations": [],
    "trunk_group_sid": "c6a721ab-c3f4-4e0c-b320-e014e0eefc29",
    "trunks": [
        {
            "allow_forward": "disable",
            "call_type": "regular",
            "codec": null,
            "endpoint_sid": "6a898445-62c1-46cf-be8b-25c2a3c87ec7",
            "in_capacity": 0,
            "name": "new_trunk",
            "out_capacity": 0,
            "relay_sip_headers": [],
            "transformations": [],
            "trunk_sid": "8f34d2b7-cc20-4ebe-8f7d-090c74c42a20"
        }
    ]
}
III. Assigning Two Endpoints
In this section, we will go over assigning two endpoints to one trunk group. This would be done to accommodate for service outages or to disperse phone traffic among multiple centers. The two routing types that can be assigned when working with multiple endpoints on a single trunk group are failover and round_robin.
Navigate to the Configure menu and click Trunk Groups.
Click Add New Trunk Group.
Enter a name for the new trunk group. This is a friendly name that is used for internal reference.
Select the first third-party endpoint that you would like to assign to the trunk group from the dropdown menu. Click Create Trunk Group.
The created trunk group will be in the list of available trunk groups. Click this trunk group name.
Scroll down to the Trunks section and click Add another trunk.
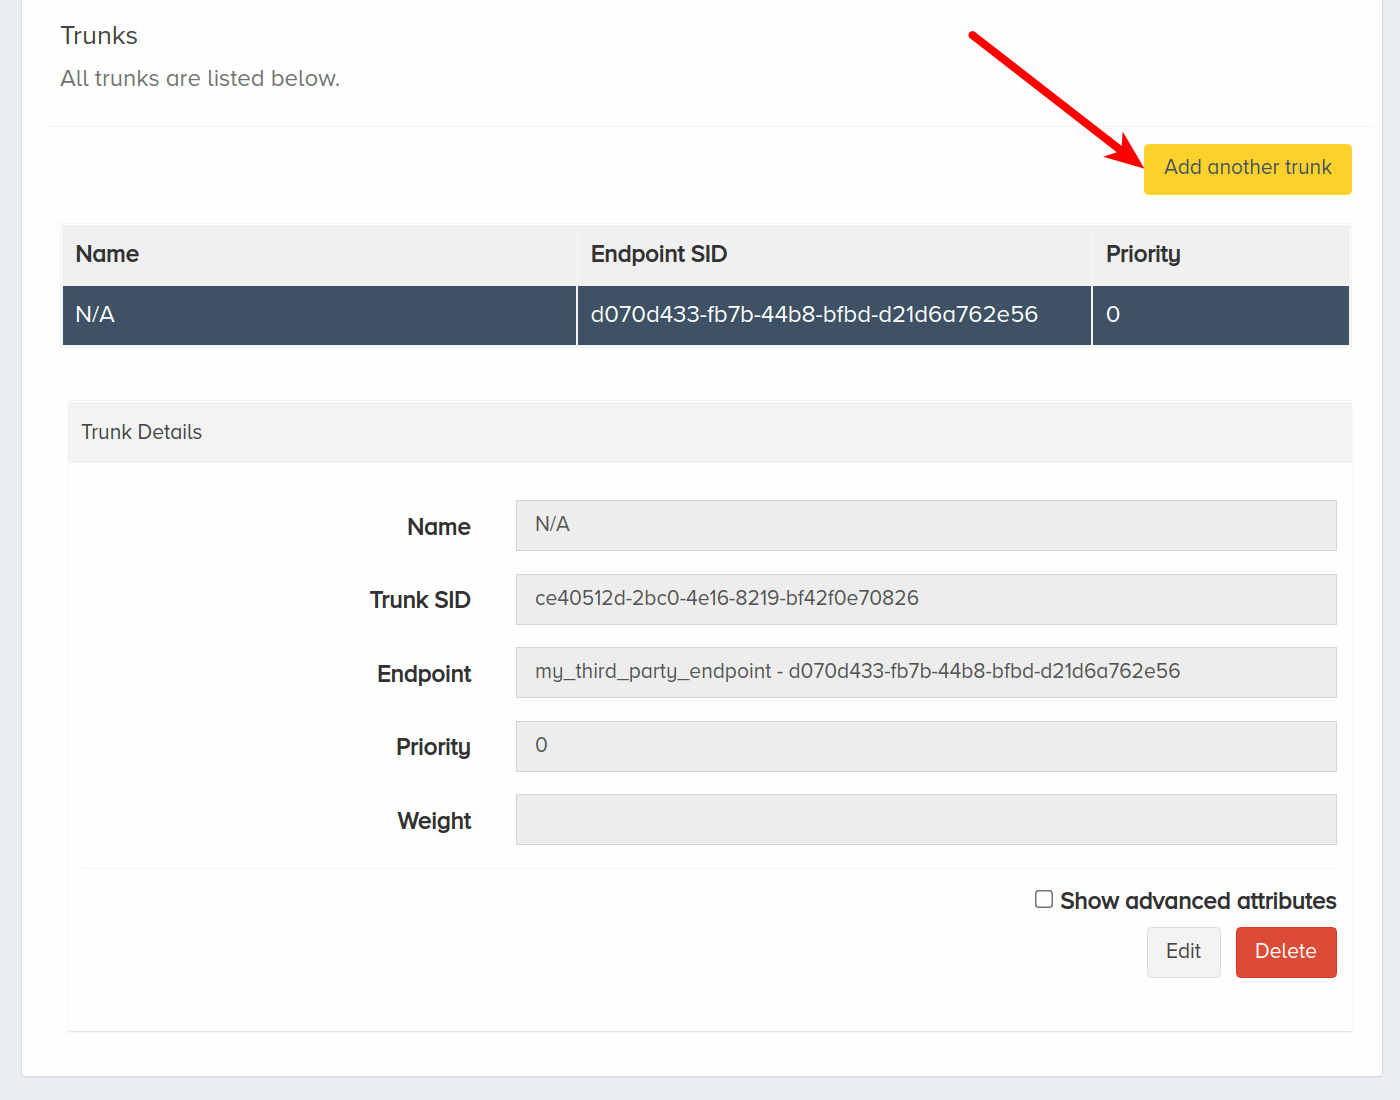
Select the second third-party endpoint that you would like to assign to the trunk group from the dropdown menu.
Click Add new trunk.

Once you create the new trunk group, you will be redirected to the new trunk group details. You can access trunk group details at any time by clicking the trunk group and scrolling down.
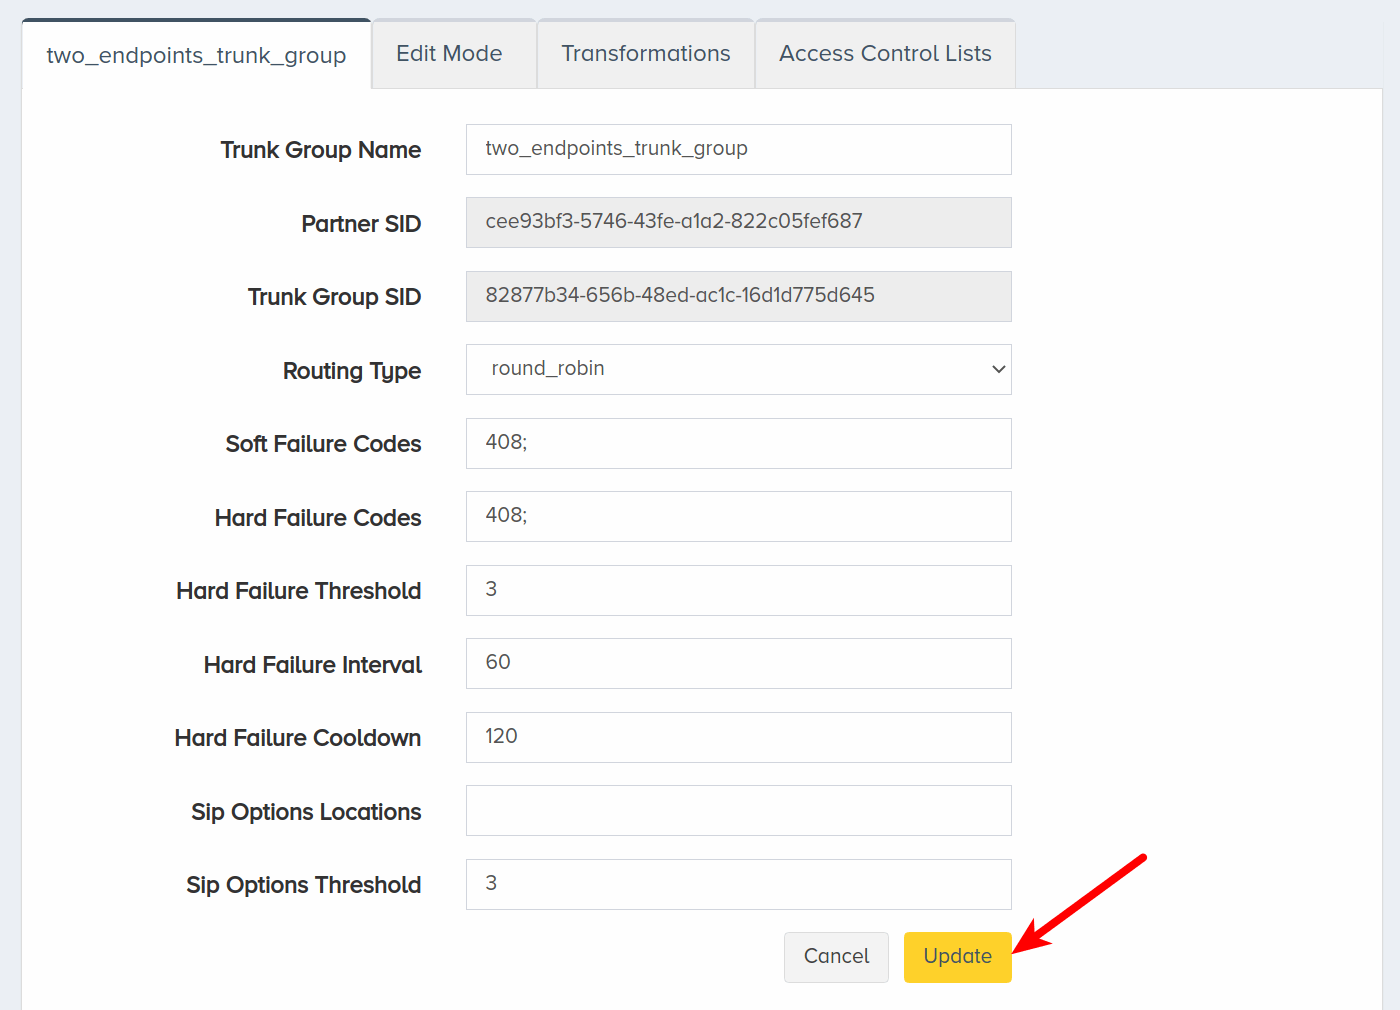
The default routing type when there are multiple endpoints is failover. Failover means that if the first endpoint is not reachable, the system will try to reach the second endpoint instead. You can change the routing type to round_robin by clicking Edit.
Select round_robin from the Routing Type dropdown menu if you want the system to evenly distribute traffic to both endpoints.
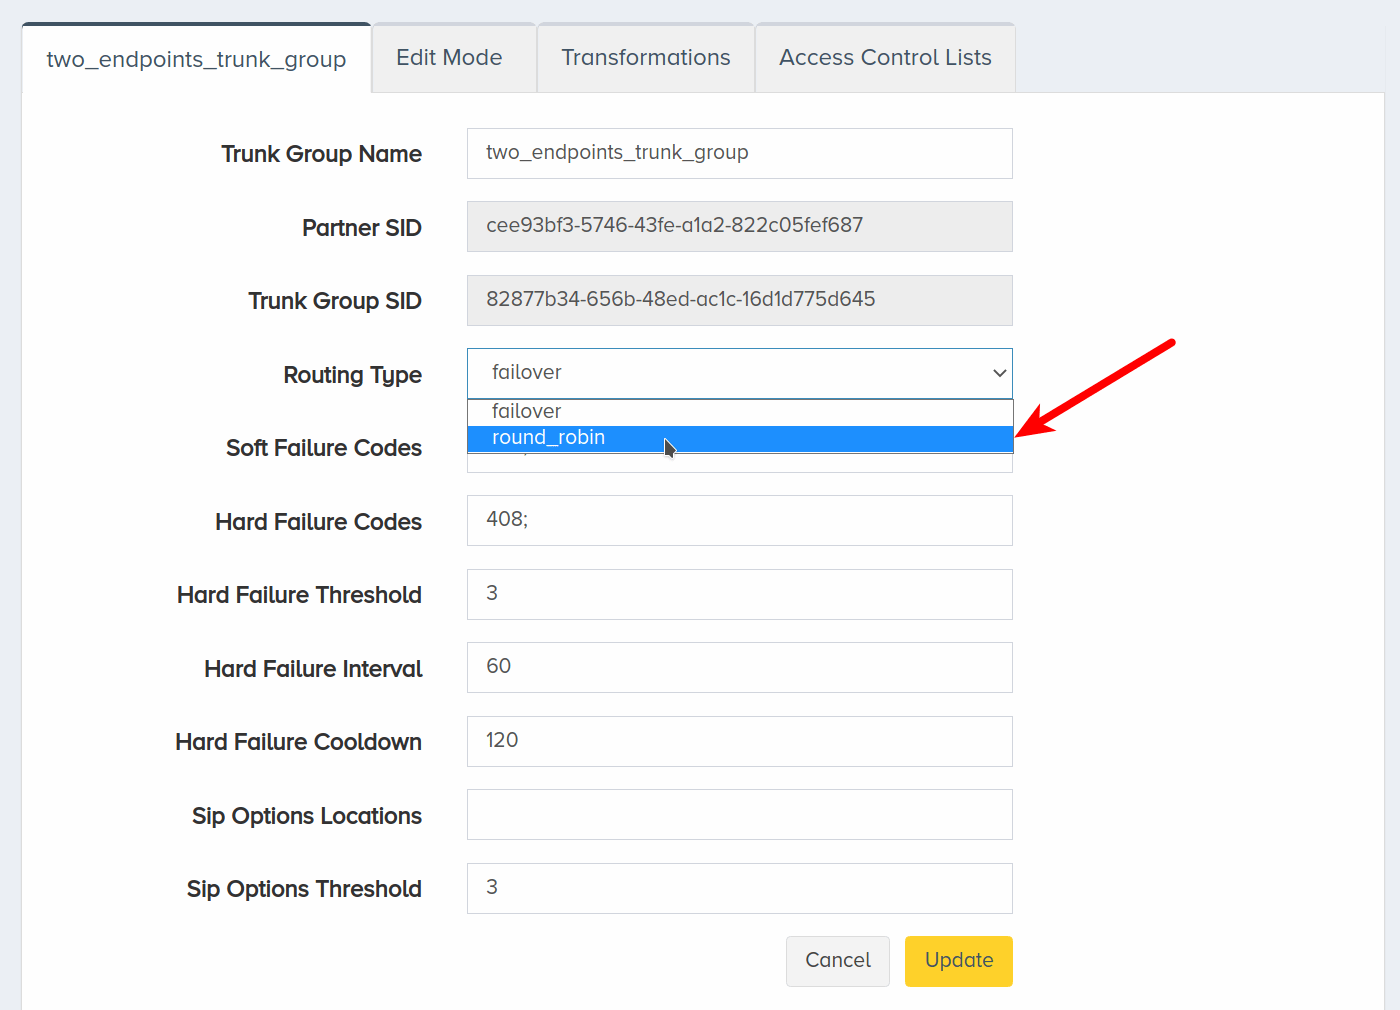
Click Update.
IV. Next Steps
You configured a trunk group! Now you are ready to assign an endpoint and phone number to the trunk group. For more information, refer to the Endpoints, Phone Numbers, and Trunk Groups sections of the Core API Reference.
To create a third-party endpoint, refer to the SIP Trunk quick start guide. Or, to create another type of endpoint, refer to the Application Endpoint quick start guide.