Configure Application Endpoint
No time to read?Watch this short video
In this guide, you will learn how to configure an application endpoint. Application endpoints enable you to build customizable voice and SMS applications using the CarrierX API. Application endpoints can be configured through the portal or programmatically. Refer to the following resources to learn more about each endpoint type:
- The Conference and Conference v2 endpoints allow you to create meeting rooms that enable two or more people to speak.
- The FlexML endpoint allows you to build a flexible voice application using our markup language.
- The Mediator endpoint allows you to create forwarding logic between phone numbers.
- To configure a trunk pointed to a SIP device, refer to the Configure a SIP Trunk quick start guide.
Endpoints must be configured with a trunk group. A trunk group determines where a call should be routed. Trunks route calls to the appropriate endpoint by identifying the phone number dialed and matching it to the trunk group that the phone number is assigned to. Refer to the Configure a Trunk Group quick start guide for more information. Trunk groups can be provisioned at the same time as an endpoint is created, as will be shown in the first section of this guide.
I. Create Using Portal
In this section, we will create an application endpoint through the portal. We will use the Conference v2 endpoint as an example for the following steps. Note that this can also be done programmatically, as is covered in a later section of this guide.
To set up an application endpoint, log into your CarrierX account. On the left-side menu, locate and click the Configure menu. Click Endpoints.
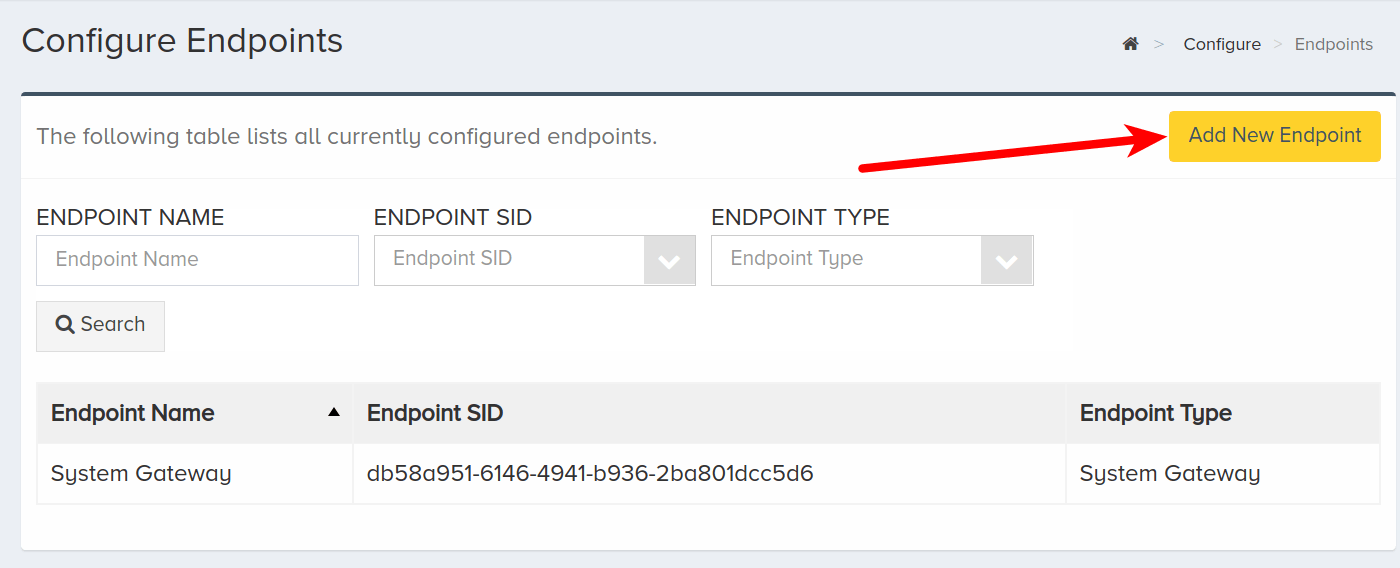
Click Add New Endpoint.
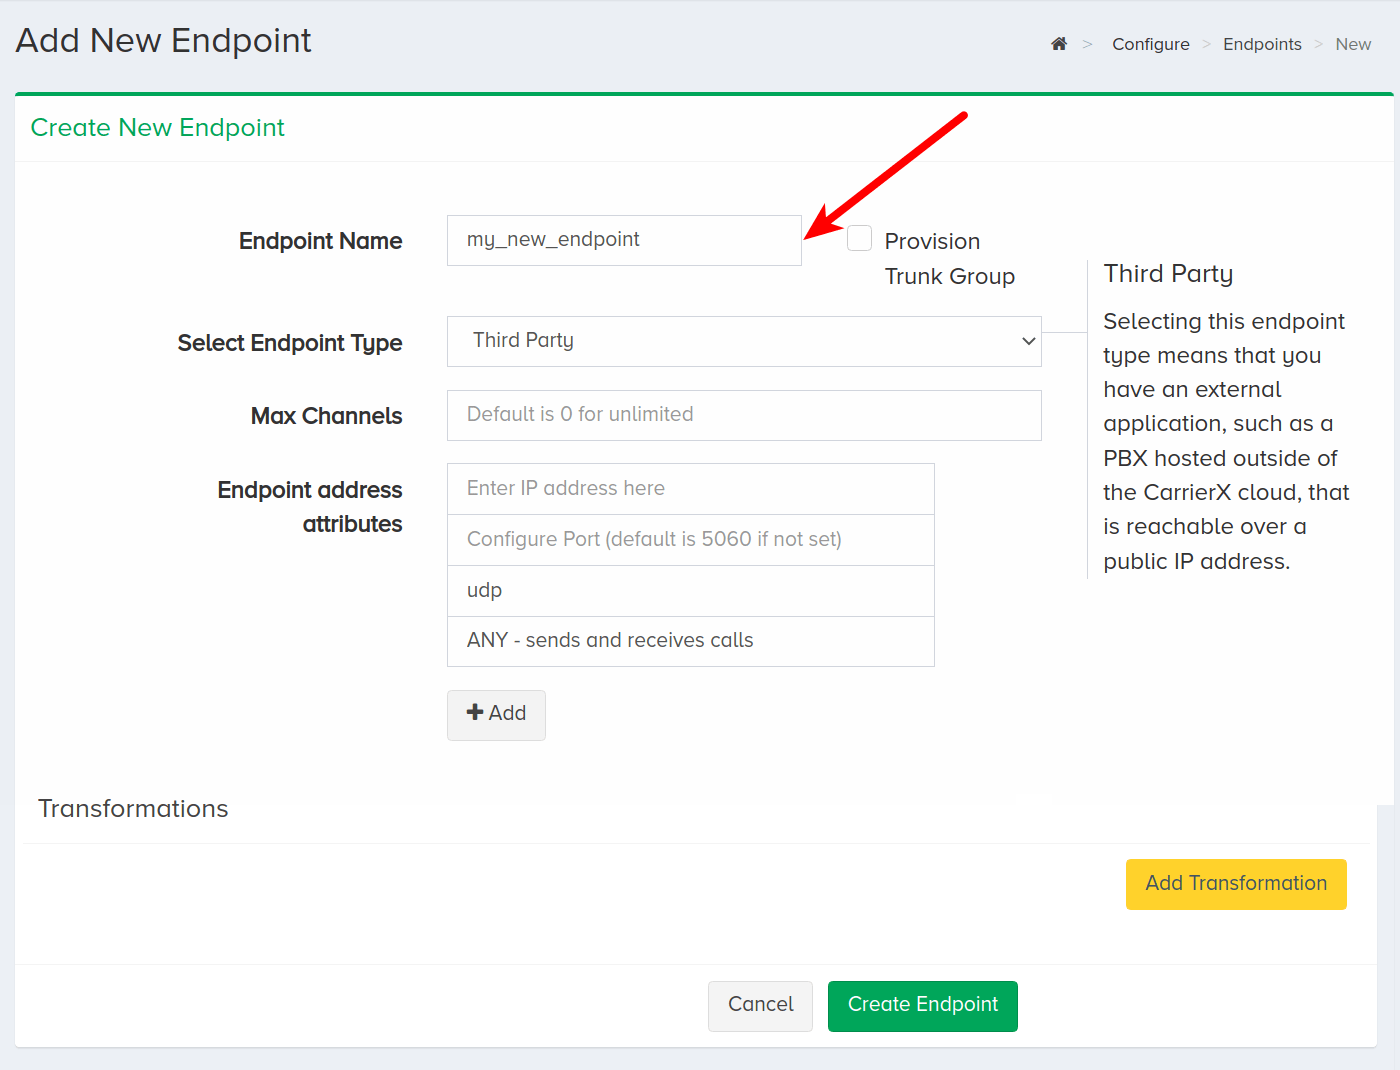
Enter a name for the new endpoint. This is a friendly name that is used for internal reference.
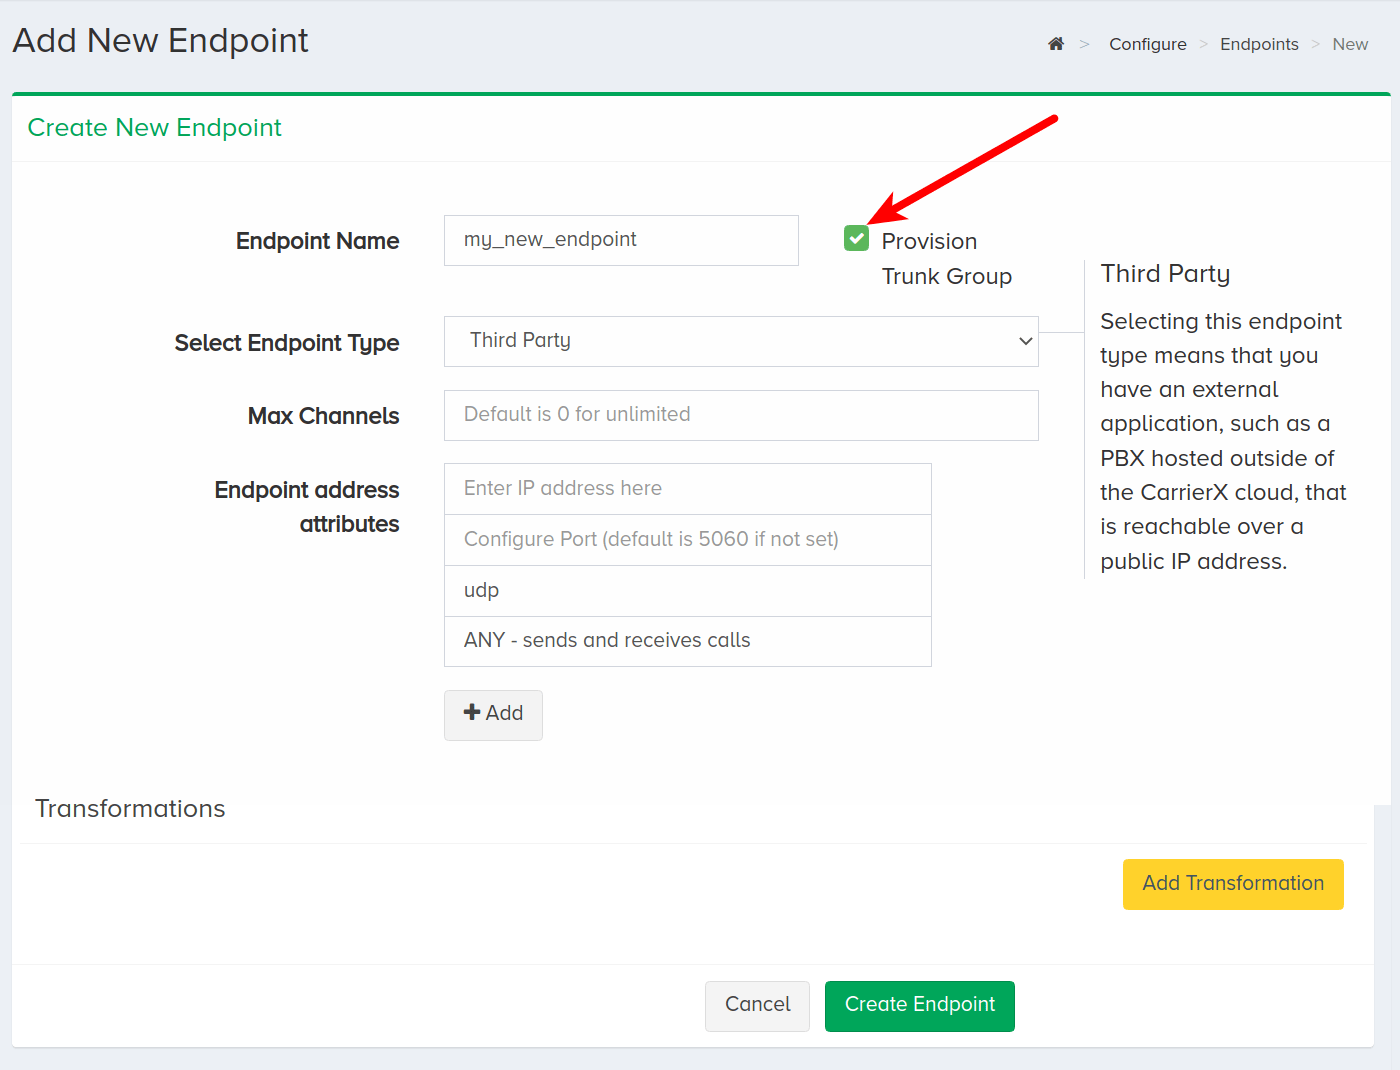
Check Provision Trunk Group to create a trunk group alongside the endpoint. A trunk group determines where a call should be routed. Trunks route calls to the appropriate endpoint by identifying the phone number dialed and matching it to the trunk group that the phone number is assigned to.
Select the type of endpoint that you would like to create. In this example, we will configure a Conference v2 endpoint. Choose Conference v2 from the Select Endpoint Type dropdown menu.
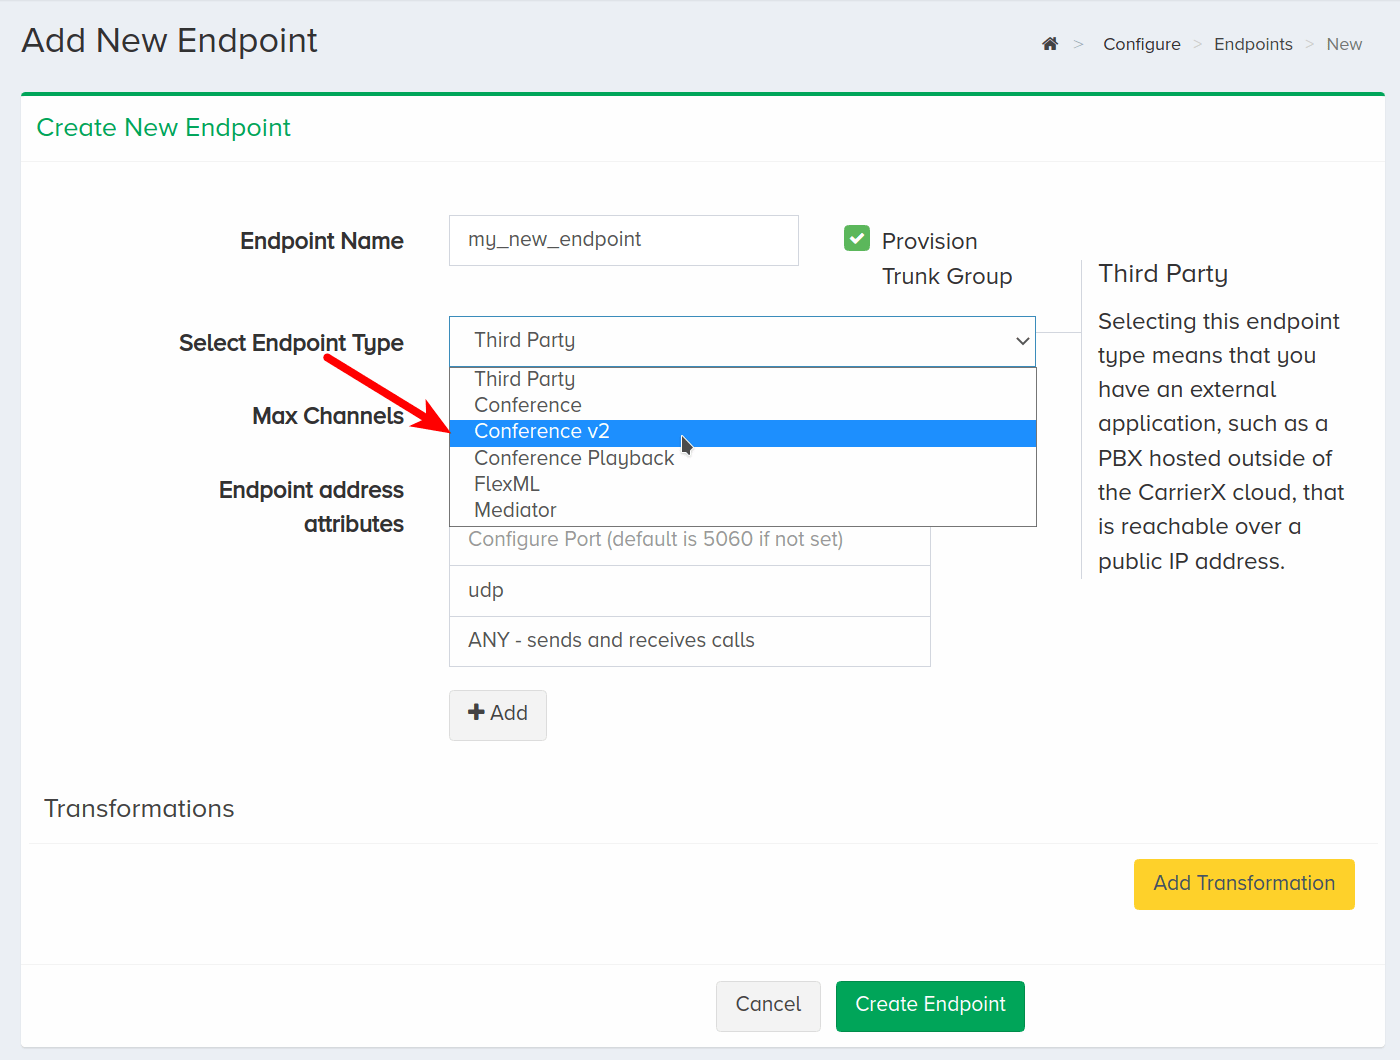
Click Create Endpoint.

Now we have finished configuring a new application endpoint with a trunk group. You will need to assign a phone number to this endpoint. Refer to the Rent a Phone Number quick start guide for instructions on renting a phone number. Instructions on assigning a phone number to a specific endpoint are included in the specific endpoint quick start guides.
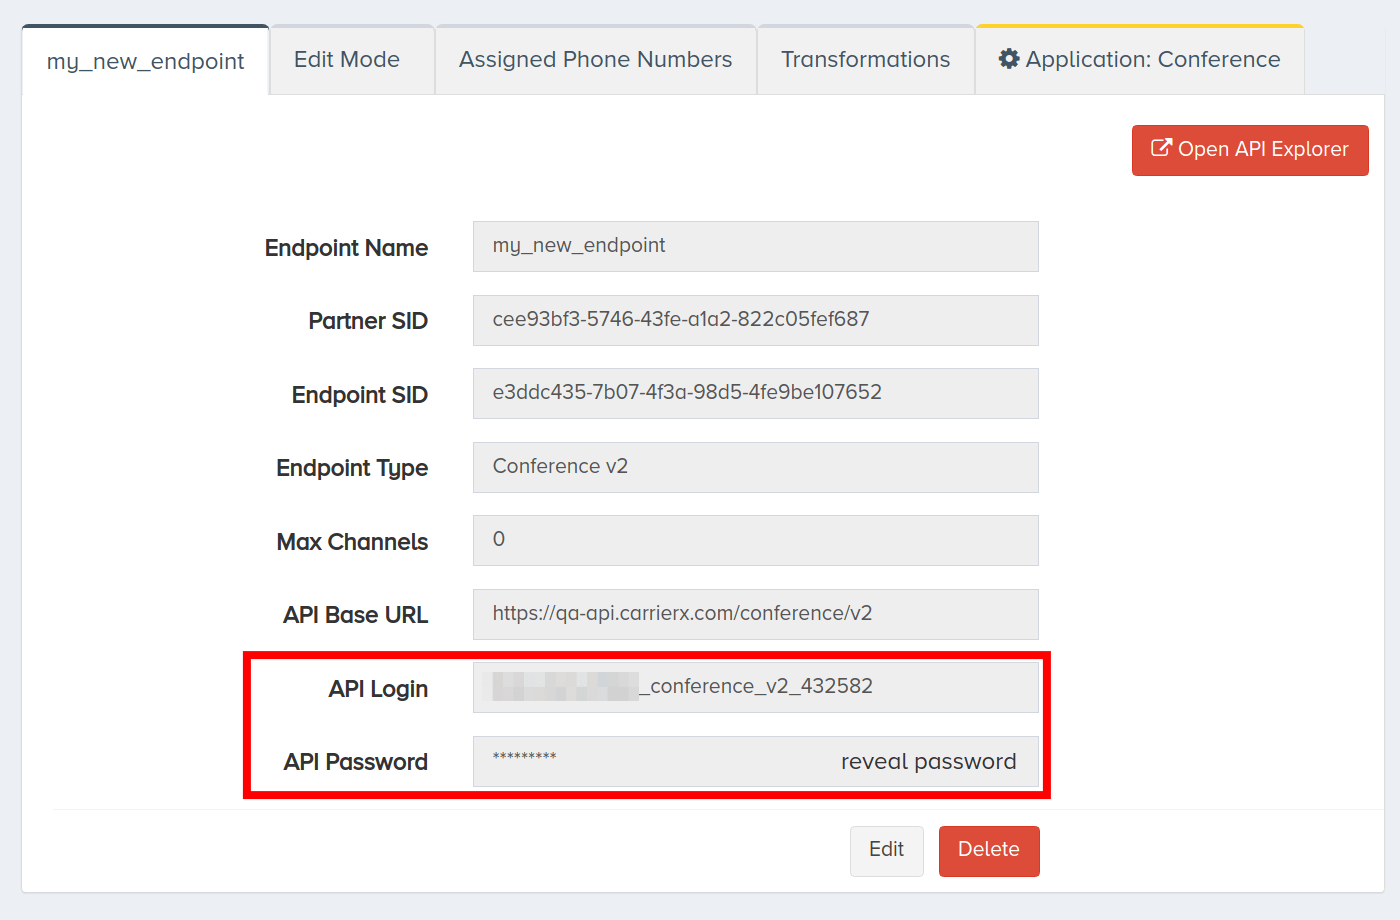
To work with the endpoint programmatically from here, you will need to use the endpoint-specific credentials. Click your endpoint and scroll down to see endpoint details.
In the following section, we will go over configuring an application endpoint and trunk group programmatically.
II. Create Using REST API
Step 1: Create Endpoint
In this section, we will configure an application endpoint programmatically. After you finish this step, you will also need to configure a trunk group, as shown in the step below.
Form a POST request and include at least the endpoint type in the request body. Refer to the Create Endpoint section of the Core API Reference for a list of the other fields that can be added at the time of creation.
curl -X POST \
'https://api.carrierx.com/core/v2/endpoints' \
-H 'Content-Type: application/json' \
--data-binary '{"type":"conference_v2"}' \
-H 'Authorization: Bearer 5ebc03d6-8b2b-44ad-bf65-72d4f1491dda'
A successful request will return a 200 status code along with a response that looks like the following:
{
    "addresses": [],
    "attributes": {},
    "capacity": 0,
    "endpoint_sid": "c8937ba8-13ee-46b7-8f26-532d2f0f3aa8",
    "name": "N/A",
    "out_sip_password": null,
    "out_sip_username": null,
    "partner_sid": "77354609-bd20-4ed0-a523-8c00792f15b8",
    "properties": {
        "account_sid": "cxDD96hWE-bGt6TvLaauid80UQs01Djz",
        "api_url": "https://api.carrierx.com/conference/v2",
        "container_sid": "null",
        "login": "user123_conference_v2_567",
        "password": "mkN0YR0jdiN2"
    },
    "transformations": [],
    "type": "po43nkKL3AAN",
    "voip_token": null
}
Take note of the login and password field values because you will use these to work with this specific endpoint. Note that each endpoint will have a distinct set of credentials. Using the Core API credentials instead of the specific endpoint credentials will result in an authentication error.
Step 2: Create Trunk Group and Assign to Endpoint
Now we will create a trunk group and then assign it to our endpoint.
Form a POST request and pass the endpoint_sid from the endpoint we created in the request body. Add the with_trunks path argument with the true value. This creates a trunk under the trunk group.
curl -X POST \
'https://api.carrierx.com/core/v2/trunk_groups?with_trunks=true' \
-H 'Content-Type: application/json' \
--data-binary '{"trunks": [{"endpoint_sid": "c8937ba8-13ee-46b7-8f26-532d2f0f3aa8"}]}' \
-H 'Authorization: Bearer 5ebc03d6-8b2b-44ad-bf65-72d4f1491dda'
A successful request will return a 200 status code along with a response that looks like the following:
{
    "acls": [],
    "hard_failure_codes": "408;",
    "hard_failure_cooldown": 120,
    "hard_failure_interval": 60,
    "hard_failure_threshold": 3,
    "name": "N/A",
    "partner_sid": "77354609-bd20-4ed0-a523-8c00792f15b8",
    "routing_data": null,
    "routing_type": "failover",
    "sip_options_locations": [],
    "sip_options_threshold": 3,
    "soft_failure_codes": null,
    "transformations": [],
    "trunk_group_sid": "4f8eb696-cb98-41d4-a44d-83ec98cc86b2",
    "trunks": [
        {
            "allow_forward": "disabled",
            "allow_transfer": false,
            "asn_mode": "disable",
            "call_type": "regular",
            "codec": null,
            "endpoint_sid": "c8937ba8-13ee-46b7-8f26-532d2f0f3aa8",
            "in_capacity": 0,
            "in_identity_format": "passthrough",
            "in_identity_mode": "passthrough",
            "in_rfc_4694_mode": "cut_all",
            "location_sid": null,
            "name": "N/A",
            "out_capacity": 0,
            "out_identity_mode": "passthrough",
            "out_rfc_4694_mode": "cut_all",
            "priority": 0,
            "relay_sip_headers": [],
            "transformations": [],
            "trunk_sid": "e2209306-6818-4f4d-af39-c061850e325b",
            "weight": 0
        }
    ]
}
III. Next Steps
You configured an application endpoint! Refer to the Endpoints and Phone Numbers sections of the Core API Reference for more information.
If you need to review some of the steps to create an application endpoint, see our Configure a SIP Trunk video.